Close


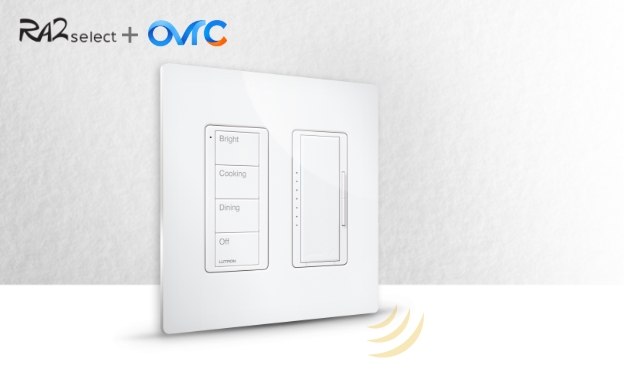
Set Up Lutron Devices
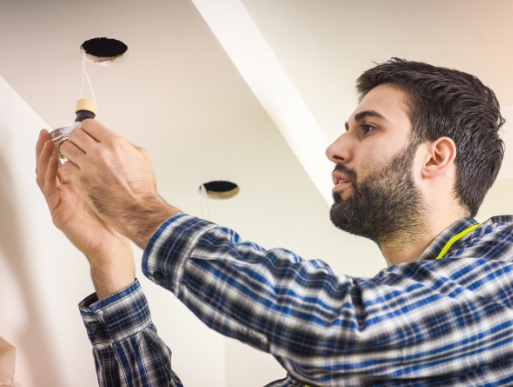
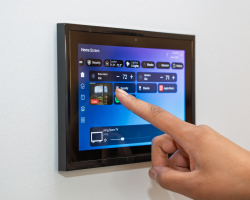
Now that your RA2 Select devices have been professionally installed, you’re ready to connect devices to the main repeater, configure system commands for switches and dimmers, and begin customizing the system.
Installs are Streamlined with RA3
Easily Installs in optimal locations that don’t require an outlet placement being PoE powered.
Backwards compatible with most RA2 and RA2 Select devices.
Lutron’s LEAP API makes it easy to integrate with control systems.
Use QuickFind software to easily find and set up the processor on the home network.
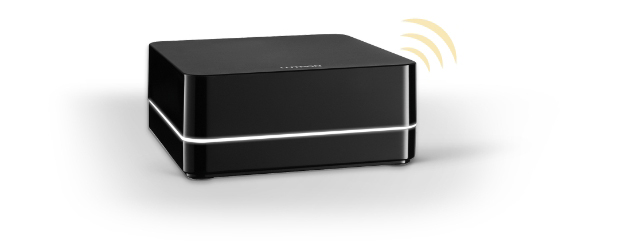
Set Up RA2 Select Repeater
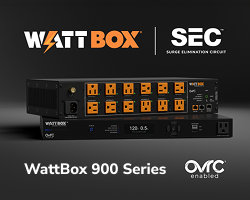
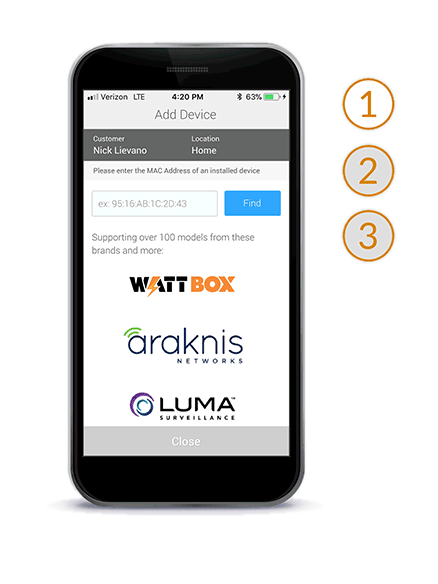
Connecting the main repeater to OvrC takes three simple steps.
Open the OvrC app, and add the main repeater by entering its MAC address.
When prompted, press the ‘add’ button on the back of your OvrC-enabled main repeater.
OvrC will securely connect to the device and confirm it as part of the system.
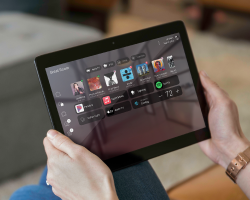
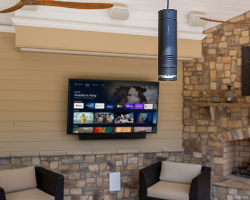
Set Up Your Caséta Smart Bridge Pro
The Smart Bridge delivers fast, reliable control from a smart device that doesn’t slow down Wi-Fi.
1Connect the bridge to the router
2Connect all smart devices to Wi-Fi
3Download the Lutron App and pair to the bridge
Configuring Scenes
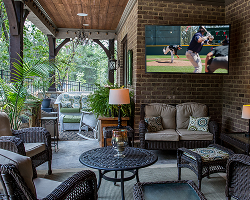
Based on the conversations you’ve had with your customer about lifestyle needs and possible lighting scenarios, you may now start building the ideal custom lighting system.
Resources & Videos
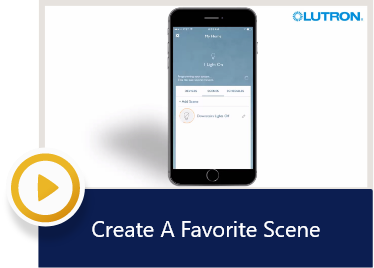
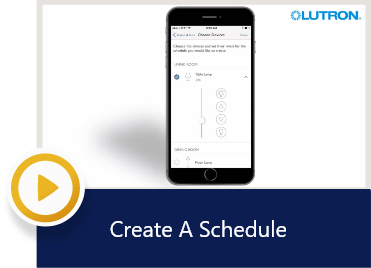
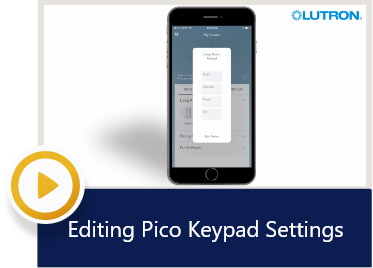
For integrators who want an easy step-by-step guide to scene creation, Lutron has provided how-to videos with details.


Educating Your Clients
Once you’re done configuring scenes and devices, you’ll want to check in with the homeowner to make sure they understand how to use, edit, and control all the functions of their new lighting system.
Download Now
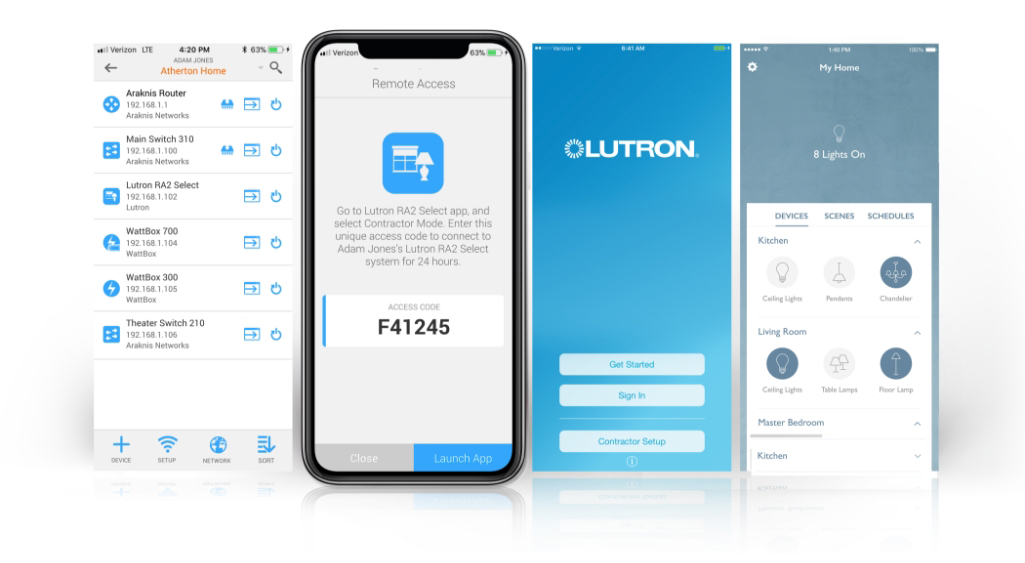
OvrC Integration
Remember, you can always remote in with your OvrC account and make changes to an RA2 Select post-install. Visit our ecosystem page to learn more about what you can do remotely with Lutron and OvrC.
Explore The Ecosystem >>
Control Compatibility
Use this spec chart to find out how to integrate your client’s control system with an RA2 Select or a Caséta system.
Lutron Works With You
Use these quick start guides to integrate other popular smart devices into a RA2 Select system.

Amazon Alexa
Create just the right light using Alexa voice control. Ask Alexa to turn lights on, off, or dim them to your favorite level.
Download QSG
The Google® Assistant
Get the lights with just your voice. Smart lighting control is now available through any Google Assistant-enabled device.
Download QSG
Apple® HomeKit™
The Smart Bridge contains Apple HomeKit technology, so you can use Siri® to control your lights and shades.
Download QSG
Honeywell Wi-Fi Thermostats
Choose from a wide variety of wi-fi thermostat options to control the temperature in your home, from anywhere.
Download QSG
Nest
Enhance comfort & peace of mind with the Nest family of products, including the Nest Cam, Nest Protect Smoke + CO alarm, and Nest Learning Thermostat.
Download QSG
Samsung SmartThings
Control lights and shades from the Samsung SmartThings app, and create new routines to tie in smart locks, sensors, cameras, and more.
Download QSG
Sonos
Control your Sonos Home Sound System from a Pico remote control for audio, from scenes in the Lutron App, or from a Pico scene keypad. You can also control your lights using your voice via the Sonos One with Amazon Alexa.
Download QSGApple and Siri are trademarks of Apple Inc; registered in the U.S. and other countries. HomeKit is a trademark of Apple Inc. Google is a registered trademark of Google Inc.

Other Checklists
Whether you’re programming the system, walking your customer through its features, or simply want to review your planned design, use these checklists to ensure you’ve crossed off every action item.
System Design Template >>
RA2 Select Design Checklist >>
RA2 Select Configuration Checklist >>
RA2 Select Homeowner Training Checklist >>
For More Information
Want more sales tips? Check out our training section to go through the six steps to success, hone your client pitch, and more.
Explore Training